Out of Bounds FramingI love making pages with the photo flowing outside the frame. It is so easy to do. While I am going to show how to do this in Photoshop CC, it can also be done in Photoshop Elements using the same steps, (note that PSE tools may be in different locations). The process of the OOB Framing can easily be done in other programs too using the eraser tool on the frame rather than masking it out.
In addition to the OOB Photo Framing, I will also be showing a quick way to create your own mask in PSCC/PSE to clip your photo to, using elements and paints from your Scrapbooking supplies.
For this tutorial I will be using Pink Reptile Design's
Happy Days Bundle found at Sweet Shoppe Designs.
Let's begin!!
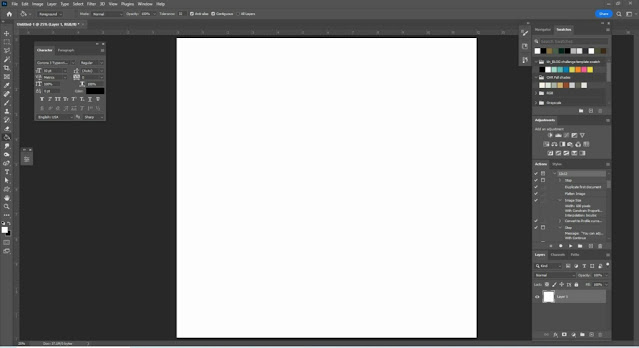
1) Let's start with a white filled workspace. Use the size you want your page to be. [ I am using a 12X12 inch workspace (3600 x 3600 pixels)]
2) Create a unique mask by using paint transfers, watercolors or brushes that have come with your program & scrapbooking supplies.
I have done that here by using the feather element, duplicating it & rotating it to place it opposite the first one and then using the paint transfers and the water color paint overlapping & placing them, so it will be a big enough mask to clip our photo to once it is the correct size and shape you want.

3) Merge these layers together. Add a new blank layer above your merged layer. On the Merged layer, in the layer panel, using the ctrl key on PC (or cmnd key on Mac) click on the merged layer so that you will get marching ants.

4) In the layer panel choose the new blank layer. Press D on the keyboard to make Foreground color black and using the paint can tool, flood fill with black. Hide the merged layer by turning off the eye in the layer panel.

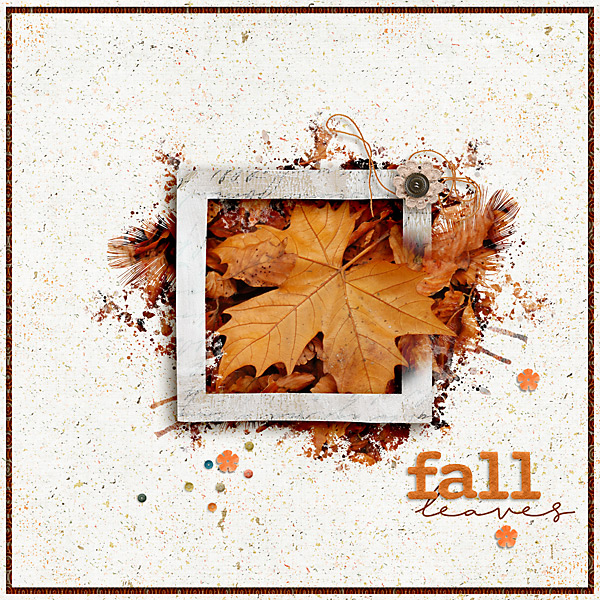
5) With photo selected, clip your photo to your newly created mask. I chose this leaf photo (a free stock photo from the morgue file file0001254374798). I noticed that my mask was not big enough so that my photo is placed the way I wanted it, so I duplicated my mask and rotated the duplicate to get the shape I wanted, then merged the 2 mask layers together so the mask was bigger. You could also resize and transform the mask if you wish to make it bigger, and then I clipped the leaf photo (Alt+Ctrl/Cmmd+G) to the new mask.
(At this point in your layer panel you can delete the layers that are no longer being used or no longer visable. Those layers would be the merged elements and the two layers I used for creating my mask that no longer reflect the eye.)

6) Choose a frame from your stash to place over your photo.

7) Make sure your frame layer is selected in the layer panel. At the bottom of the layer panel is an icon of a rectangle with a circle. That is the “add a mask” icon. By clicking on that, it will add a white mask to your layer revealing everything in the layer. In order to “hide” part of the frame, we want to paint with black in the layer mask to conceal the small edging of the frame;

8) Click on the mask to engage it. Press D on your keyboard to set your colors for the foreground/background to black & white. Using a soft round brush (with black color as your foreground color), paint on the mask for the edge to mask/erase a portion of your frame.

9) To the frame layer, add a drop shadow effect. That is it!

Complete your page as you wish, adding additional elements, journaling and papers.
Here is my completed page:

I have also made another page still using the
Happy Days Bundle found at Pink Reptile Designs' store at Sweet Shoppe Designs

I hope you enjoy this fun out of bounds scrapping technique! Happy Scrapping!


